//------------------------------------------------------------------------
// OLED 128x64 display example
// 01/27/17 by: Atomkey
// Libraries used: Adafruit_SSD1306-master.zip, Adafruit-GFX-Library-master.zip
// Get the libraries from atomkey.net under code/AVR section
// Or - goto https://github.com/adafruit/Adafruit_SSD1306
// and here: https://github.com/adafruit/Adafruit-GFX-Library
// Using Adafruit's examples may cause issues. This code should work with no
// problems. Take a look at the header files for both libraries - there are
// plenty of functions to draw lines/circles/scroll text, etc...
//------------------------------------------------------------------------

//#include <SPI.h>     // should compile, upload, and run without
//#include <Wire.h>    // out these. If not, uncomment them.

#include <Adafruit_SSD1306.h>
#include <Adafruit_GFX.h>
#include <gfxfont.h>

#define OLED_RESET 4
Adafruit_SSD1306 display(OLED_RESET);

/****************************************/
void setup()
{
  int ct = 0; // general purpose counter
  //Serial.begin(9600);

  display.begin(SSD1306_SWITCHCAPVCC, 0x3C);  // initialize with the I2c addy 0x3D (for the 128x64)

  display.clearDisplay();                     // the adafruit logo defaults everytime the display is initialized
                                              // so clear it out first, and...
  display.display();                          // display a blank screen.

  ct = 100;
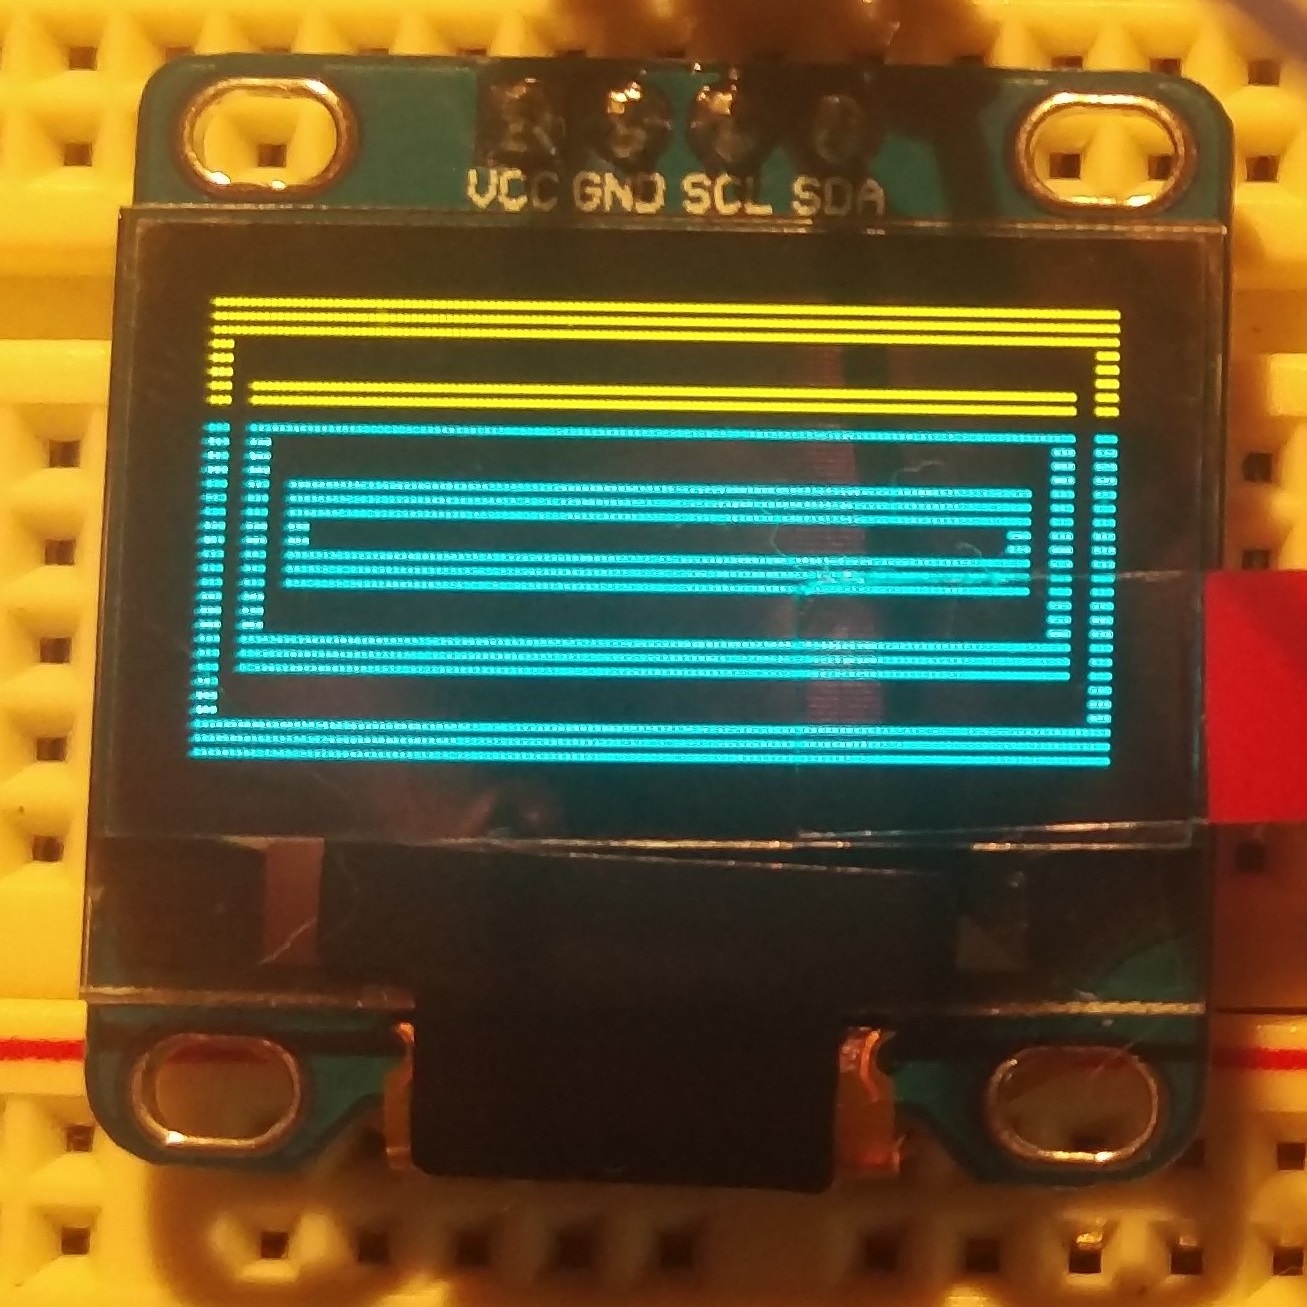
   while(ct--) drawstatic(100);               // make static/snow on the screen
  delay(500);
  display.clearDisplay();                     // this method does NOT require you to call
                                              // the .display method to update the screen as cleared

  display.setTextSize(1);                // show some text on the screen with font size 1
  display.setTextColor(WHITE);           // invert values with (BLACK, WHITE) - see below
  display.setCursor(0,0);
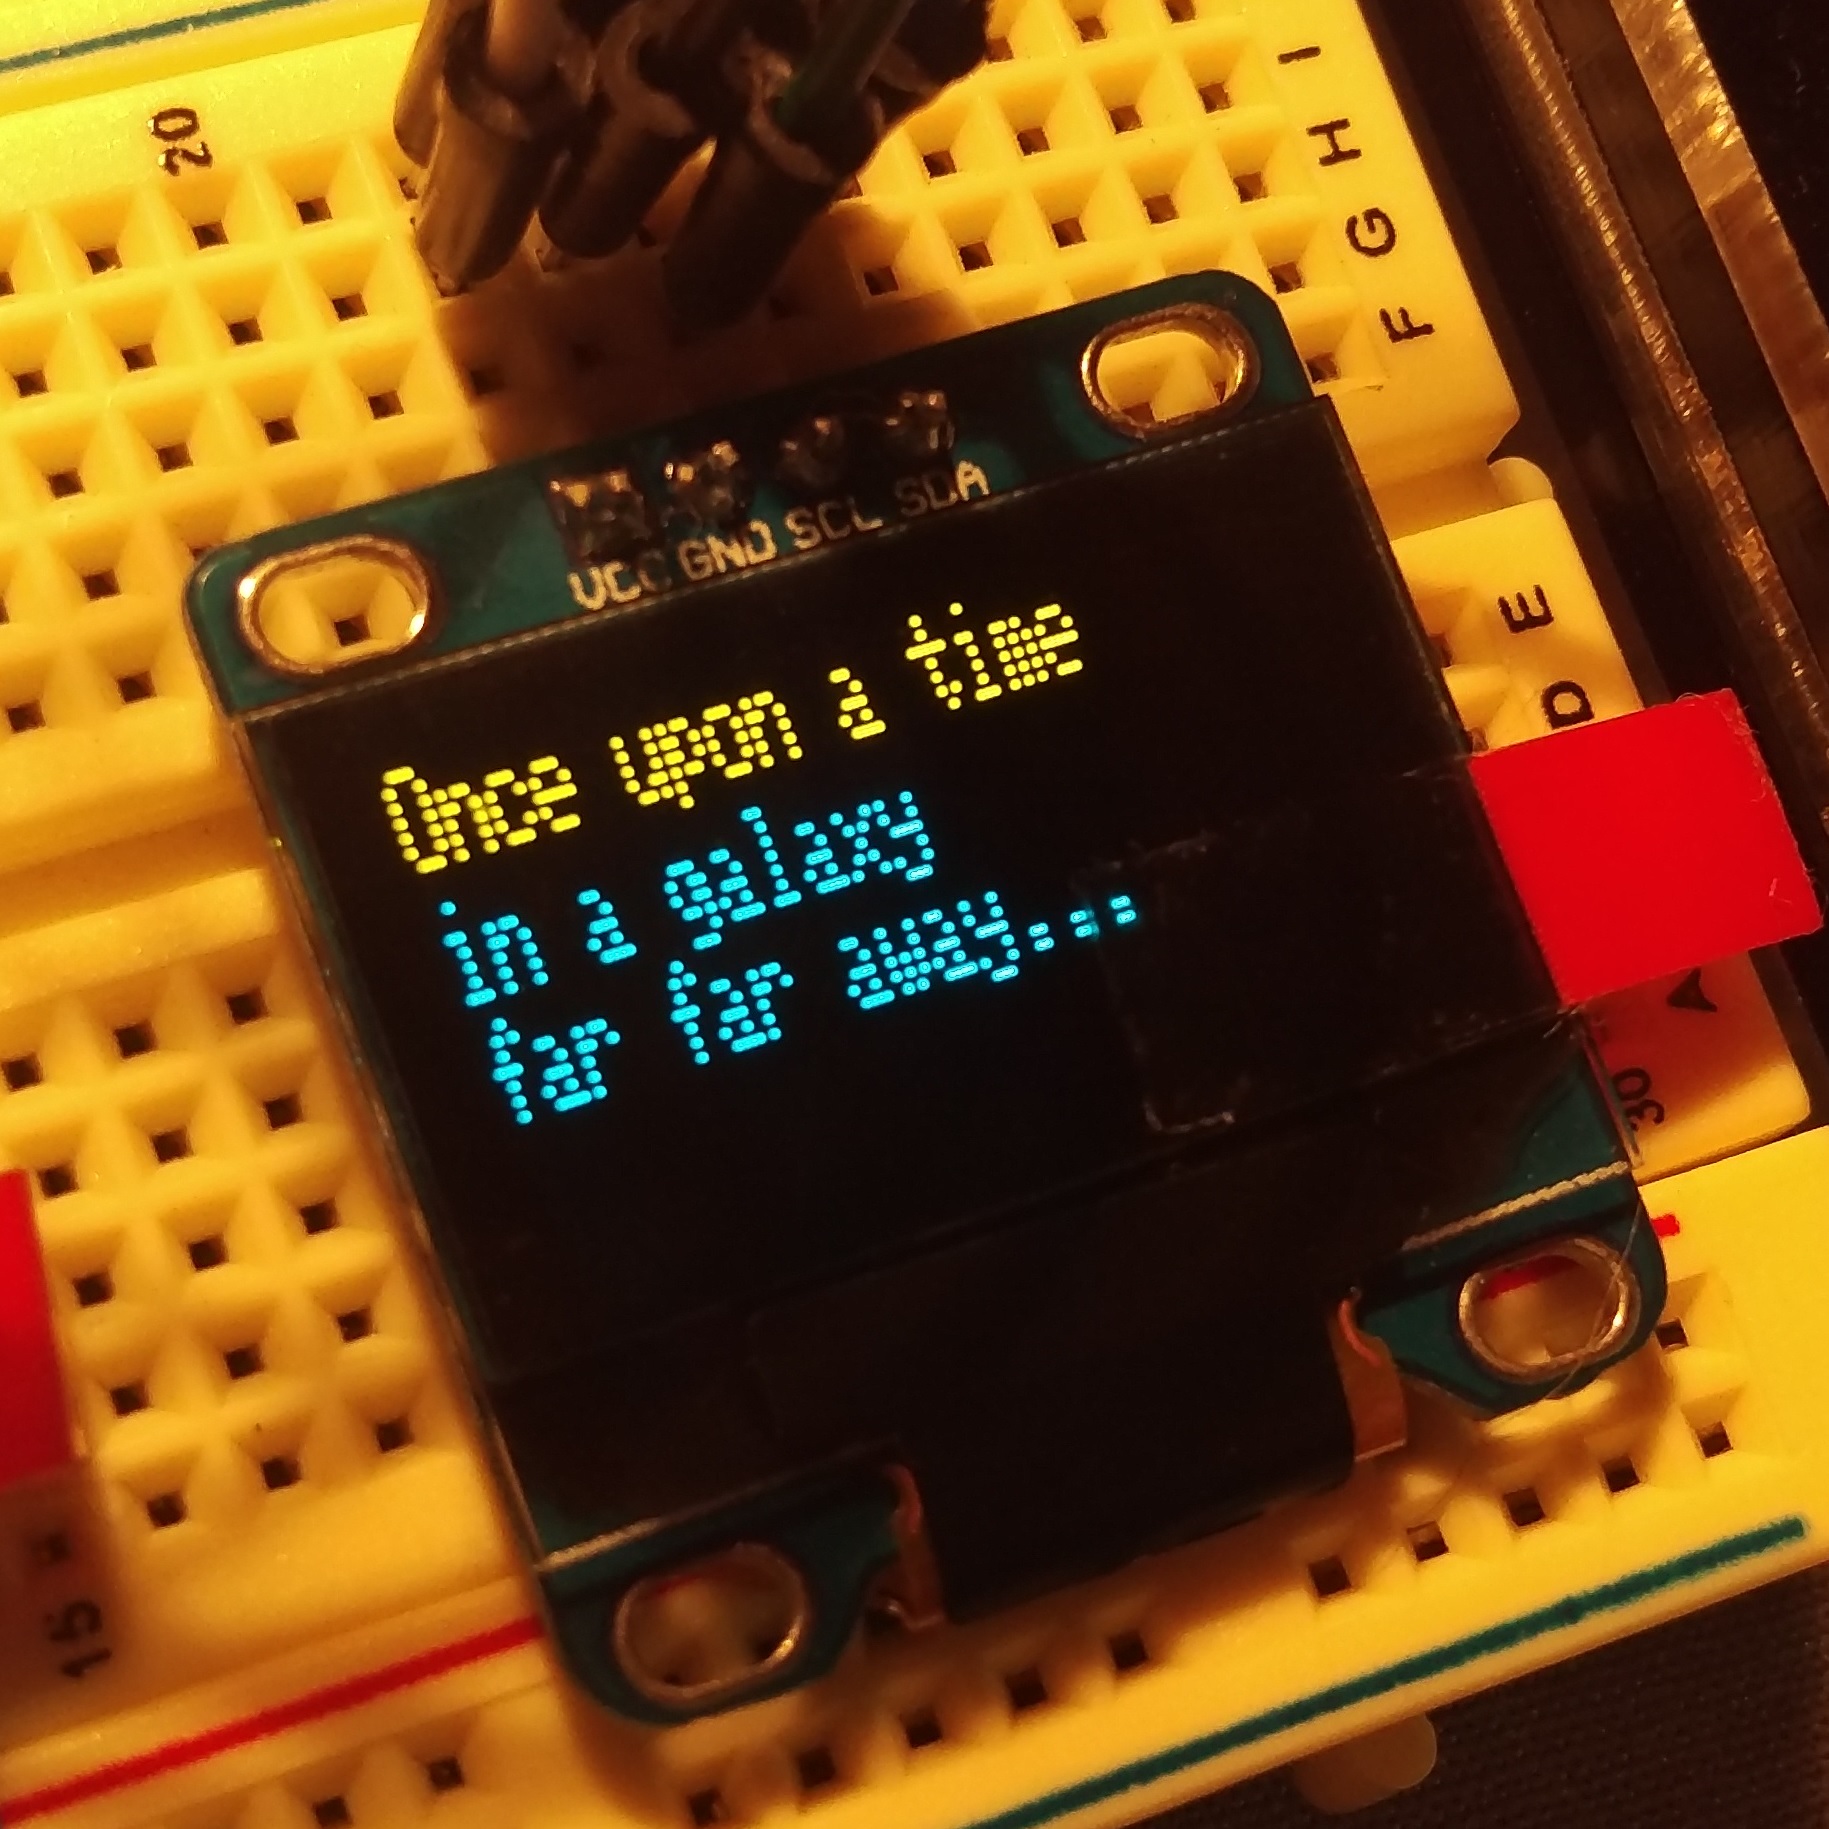
  display.println("Once upon a time\nin a galaxy\nfar far away...");
  display.display();                     // you have to call .display to update it with what you have 'painted'
  delay(3000);                           // give some time to read

  display.clearDisplay();
  display.setCursor(0,0);

  display.println("3.141592 = text");    // println has an overloaded method that can handle numbers
  display.print(3.141592);               // or text - float numbers are rounded to the 1/100*
  display.setTextColor(BLACK, WHITE);    // invert foreground and background
  display.println(" = float");
  display.display();
  delay(3000);

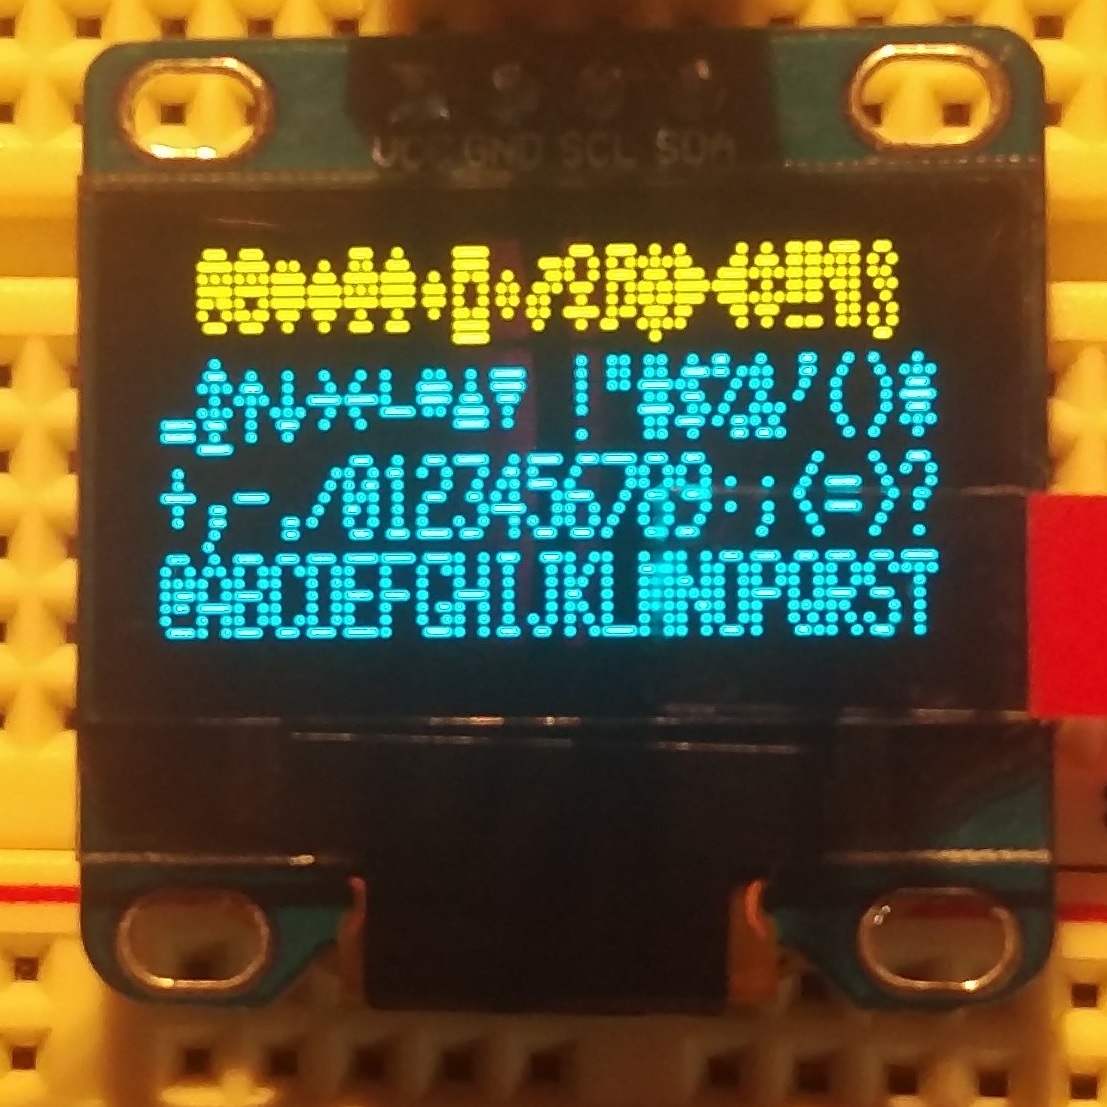
  display.setTextColor(WHITE);           // get ready to demonstrate font sizes

  ct = 4;
  while(ct)
   showfonts(ct--);                      // show font sizes 4-1 in descending order
 }

/****************************************/
void loop()
{
  int reps = 10; // repeate how many times?

  while(reps--)  // do the reps
   {
     display.invertDisplay(true);  // flash the screen back and forth
     delay(100);                   // for 'rep' number of times
     display.invertDisplay(false);
     delay(100);                   // delay a bit between flashes
   }

  setup();                         // start demonstration all over with static again
}

//------------------------------------------ quick function to draw a static pattern
//------------------------------------------ on the display.
void drawstatic(int how_fast)
{
  while(how_fast--) // paint how many pixels before updating display?
   {
     // radomly place a white or black (on/off) pixel somewhere
     // on the display canvas

     display.drawPixel(random(128), random(64), WHITE);
     display.drawPixel(random(128), random(64), BLACK);
   }

  display.display(); // show the canvas
}

//------------------------------------------ quick function to show a font size
//------------------------------------------ and test word on the display
void showfonts(int font_size)
{
  display.clearDisplay();                        // setup display for some work
  display.setCursor(0,0);

  display.setTextSize(font_size);                // set the font size
  display.print(font_size);                      // display font size example
  display.println(" font");
  display.display();
  delay(3000);                                   // give the user a moment to view
}

// ------------- end of code --
|
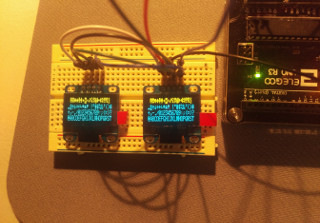
Click to see full size with pinouts labeled. +Opens in a new tab. |
