How to make a Flip-Target
What is a flip target anyway? It's basically any sort of target that resets itself after being hit by a projectile. In this case, it is inteded for handgun target practice. I would say that low velocity rounds should be used and a considerable distance when shooting at anything that is steel, but those are hopefully obvious safety measures for anyone going target practicing with a firearm. Ricochet is a serious concern and can be dangerouse. So be careful. Just in case you don't know what that is exactly - let me refer Webster's:
ric·o·chet
   verb
    1. (of a bullet, shell, or other projectile) rebound
       one or more times off a surface. "a bullet
       ricocheted off a nearby wall"

   noun
    1. a shot or hit that rebounds one or more times off
       a surface.
Click HERE to watch the YouTube video. 
|
|
Materials:
Mild steel of some sort. I've used 1/4" stuff.
Access to a cutting torch and welding equipment.
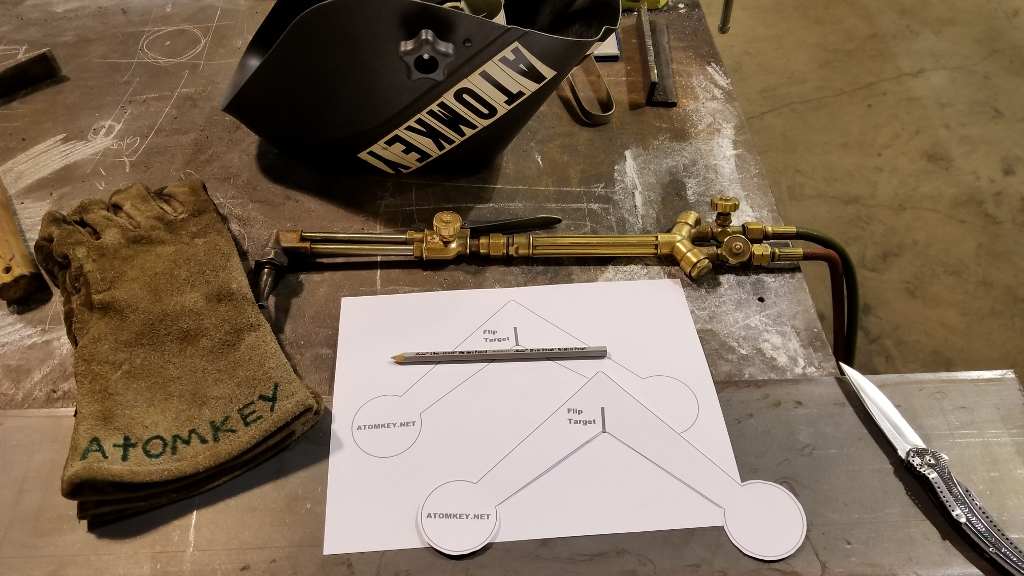
A pattern and some basic instructions (provided here).
When I first went looking for a 'how to' on this thing, I didn't have much luck. So that's the secondary reason why I have added this content to my page. My main reason for making one was the first one I had broke. I think it was around $30 and I didn't want to buy another one. I had access to the steel and everything I needed in the Welding Lab where I've been attending, so I just decided to make one myself.
But I needed a pattern. After looking at several 'manufactured' versions I landed on a similarity among them that I thought was the most persistent design and simply copied the concept using Autodesk SketchBook. It has a symmetry tool that made it quick to draw out.
Then I used MSPaint to print it with default settings to hopefully ensure a consistent printout for others that may wish to do the same. My hopes are that MSPaint will print close to the same output regardless the version of Windows that others may be using. If not, scaling the print will be up the maker.
Click HERE to download the pattern. Or you can right click on the image below and 'save as' -
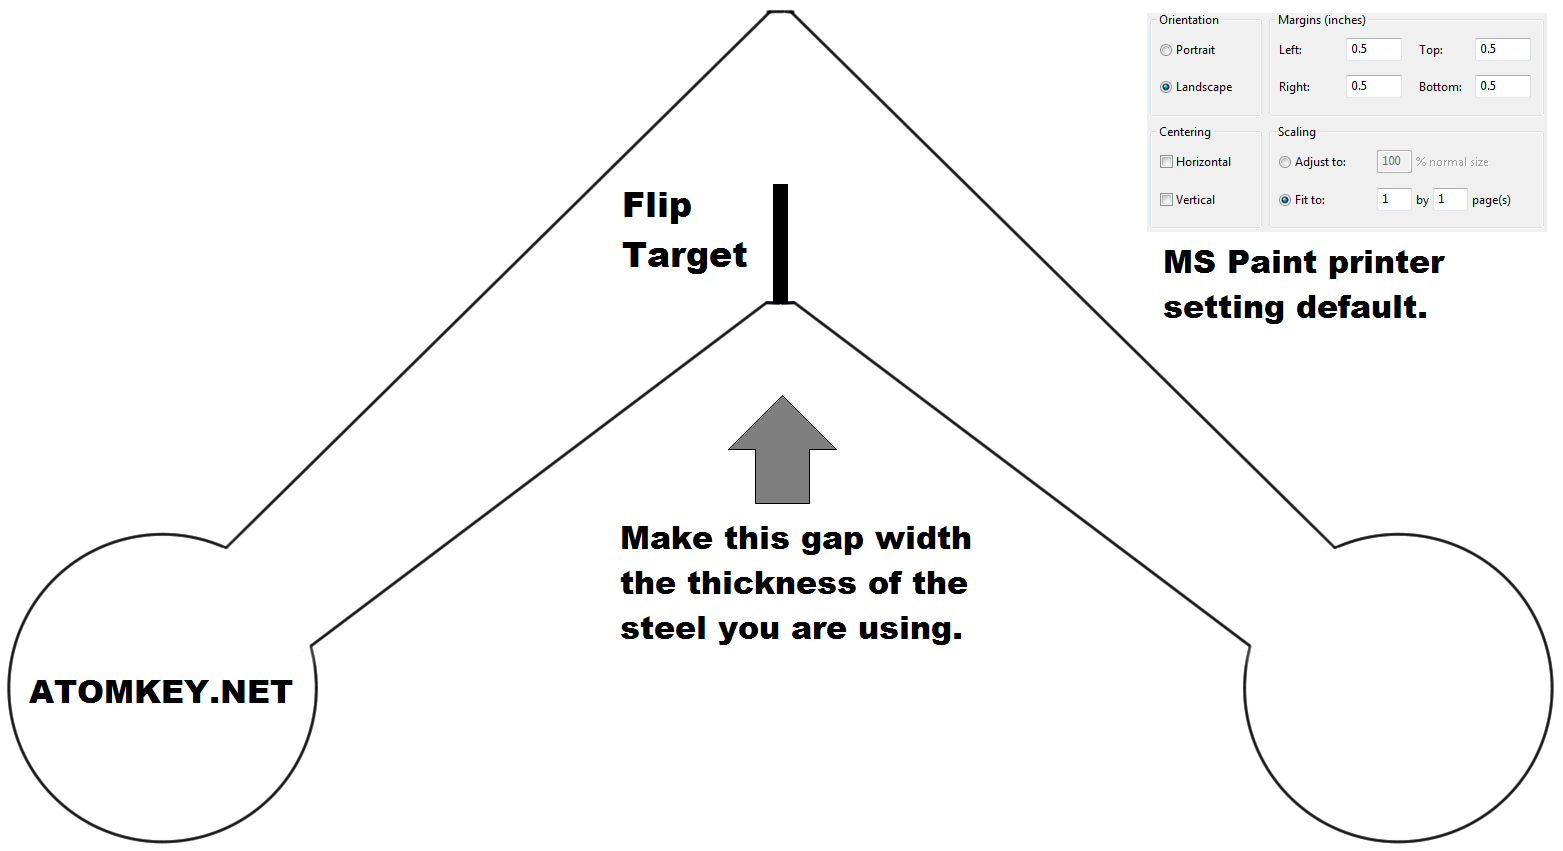
1) Cutout the pattern (perhaps just a little larger, but stay well outside the lines.
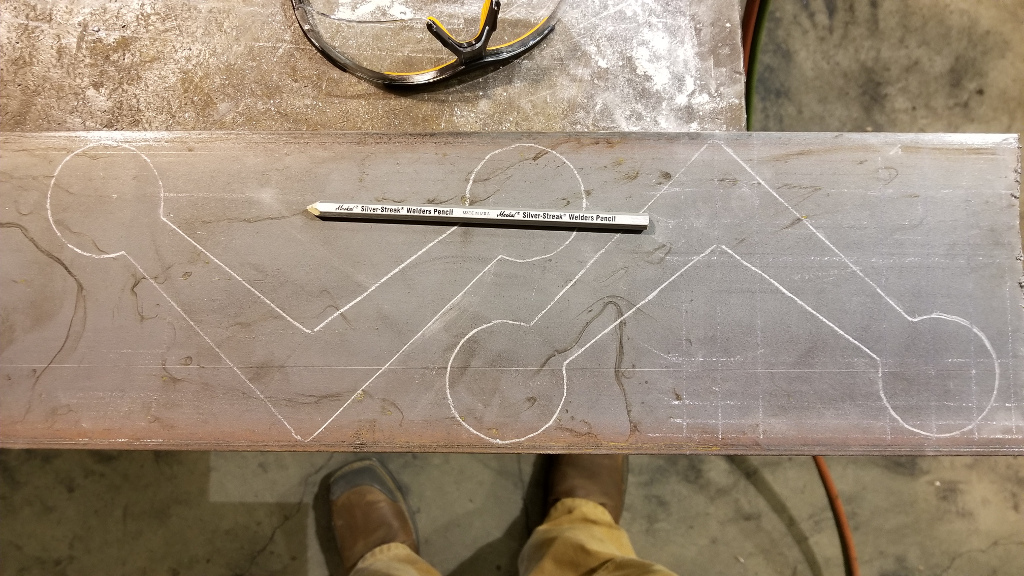
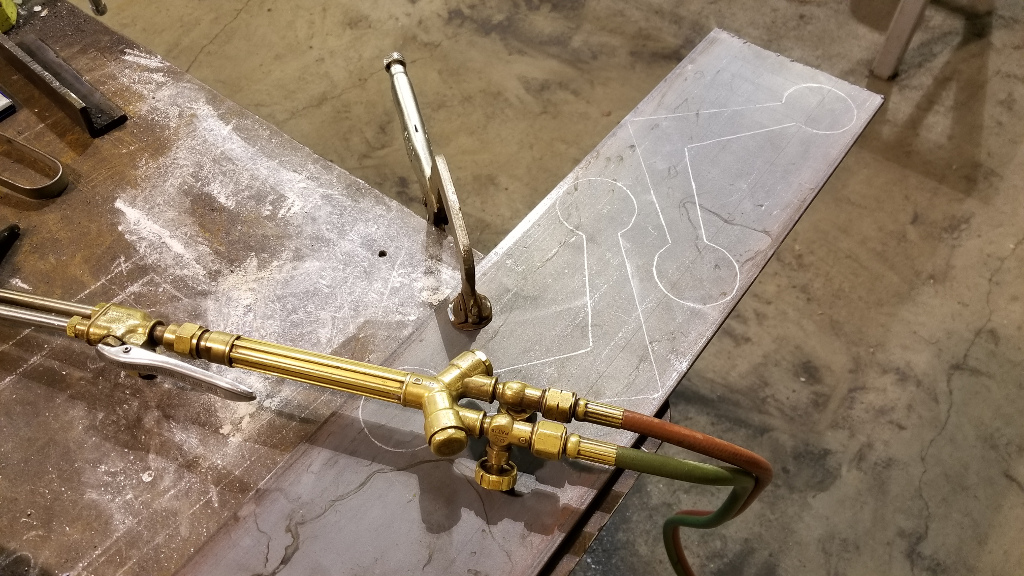
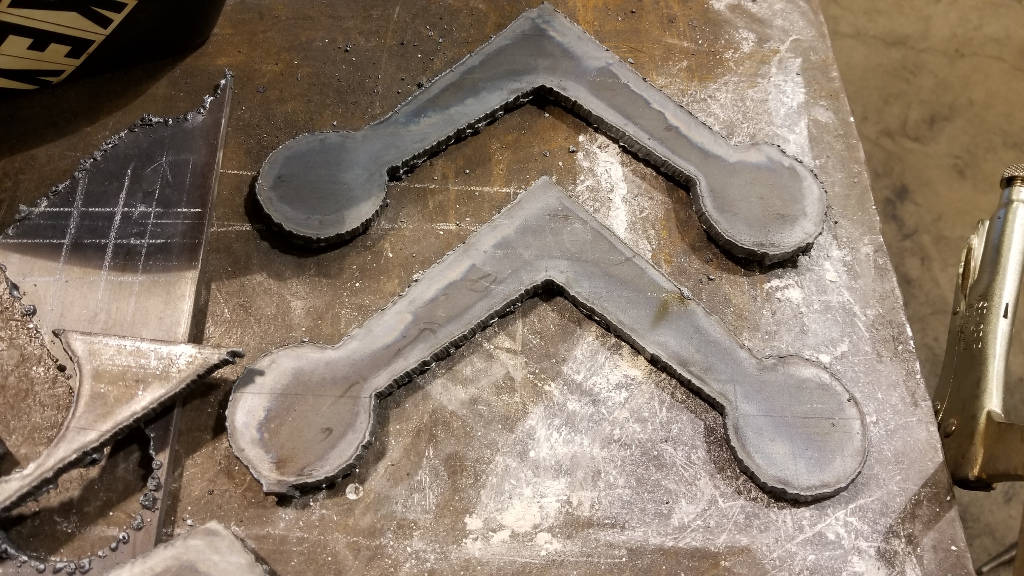
2) Trace the pattern on to the steel that you intend to cut from. I cut the circled ends about 1/8" larger around the circumference just to make sure I had some room for the kerf in case I goofed with the torch. I'm not too terribly great at cutting out polygons yet! Ha! You need to cut out two.
3) Clean up the edges on a grinding wheel or hand grinder to your liking.
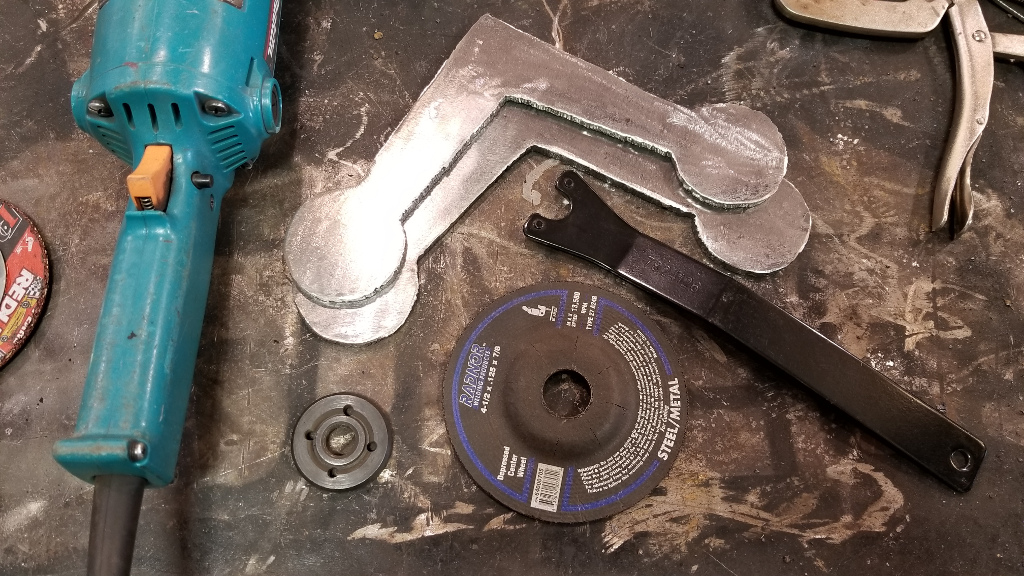
4) Using a chop saw or a hand grinder with a cutting wheel, make the gaps (interlocks) in the center of each armature.
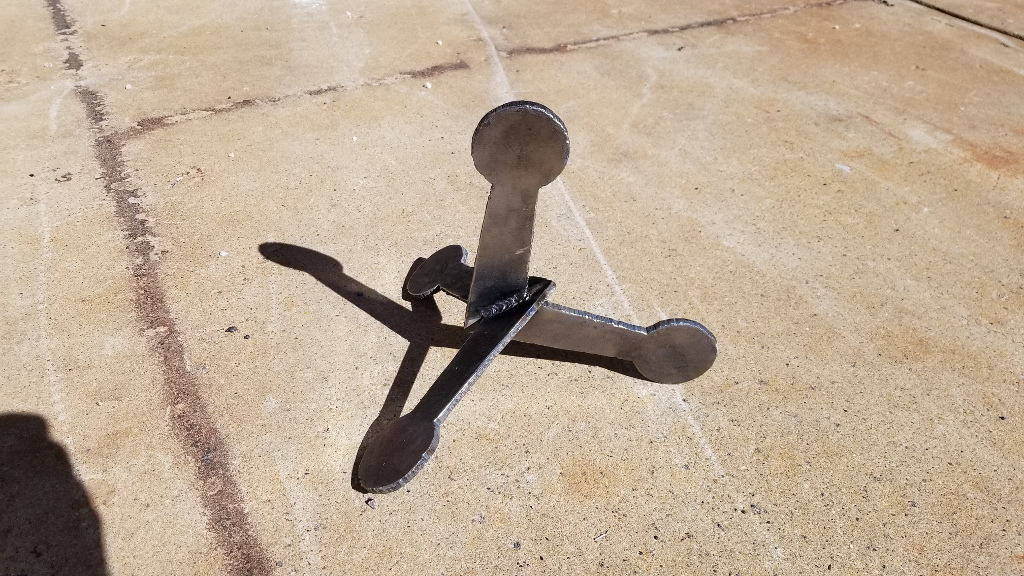
5) Now invert them into each other's slotted areas and fit them together. You might need to use a little force if they are just a bit too tight to fit. Then again, if you made the slots too large they may be a loose fit and welding them will be the only way to make them stay put. It's better to have a really tight fit if you can manage. Notice in the pictures I have below that they wouldn't even go together all the way. But I like how it turned out, AND I couldn't get them apart to recut the grooves. So they got welded the way the were.
And that's about it. Please be careful shooting at it. After looking closer I think the weldment needs reinforcement. Probably a few more beads over what is there. But I'm too curious to find out how well they hold under impact. More to come if there is data worth repoting on that...
6) Weld them on each side. DO NOT put in water to cool it off fast. Let it cool down on its own.
Click on an image to open in a new tab full resolution...


Nothing to see here.
Move on.
|


